There are 4 major ways of adding contacts to Route:
1. Manually add a contact to your Route account.
To manually add contacts to Route:
1. Go to the Contacts menu and click the New Contact button at the top right corner of the screen.
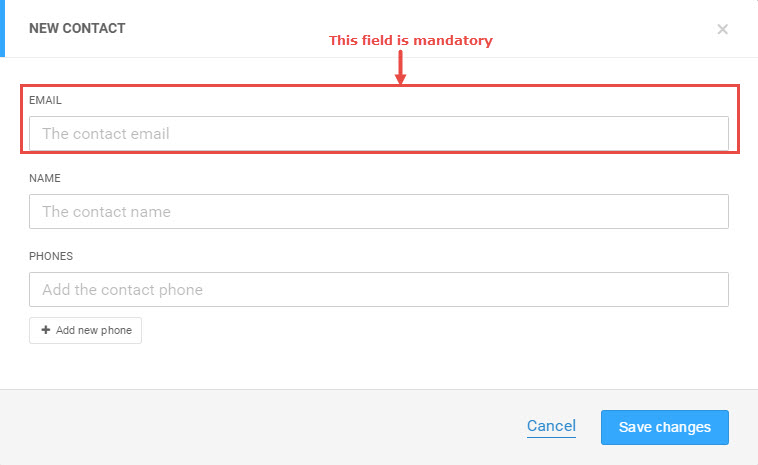
2. Enter the details of the contact and click on the Save Changes button.
When you manually add a contact to Route, they’re automatically categorized as unidentified since Route still needs to map their email to the cookie on their computer. Please note that as long as a contact is unidentified, Route won’t be able to record their behavior and use it for future actions. As a result, you won’t be able to track their behavior using your events created for tracking user behavior and actions.
2. Import a .csv list to your Route account.
To import a .csv list to your Route account:
1. Go to the Contacts menu and click the Import Contacts button.
2. This will redirect you to the Imports page. Click on the New Import button.
3. Enter the name of the file to be imported, select the respective .CSV file, and then click on the Next button.
Note: If the contact in your current .CSV file already exists, you can replace it with the new and updated information by checking the If the contact is already in Route, add new data and update existing data? checkbox. In addition, you can also assign an Agent to this list of contacts. Find out more about Agents here.
4. Match each column to a corresponding Route attribute and then click Import. That’s it!
Note: Route doesn’t distinguish between First Name and Last Name. If your spreadsheet is in this format, we suggest you to group both fields together to a single “Name” column. For example, if your spreadsheet looks something like this:
| First Name | Last Name | |
| John | McClane | [email protected] |
Then you should change it to this:
| Name | |
| John McClane | [email protected] |
Don’t worry, when creating the messages you can use Custom Attributes to add the person first name on the message or subject line.
When you import a list to Route, the contacts are considered as unidentified since Route still needs to map their email to the cookie on their computer. Please note that as long as a contact is unidentified, Route won’t be able to record their behavior and use it for future actions. As a result, you won’t be able to track their behavior using your events created for tracking user behavior and actions.
3. Send contacts to Route using 3rd party integrations.
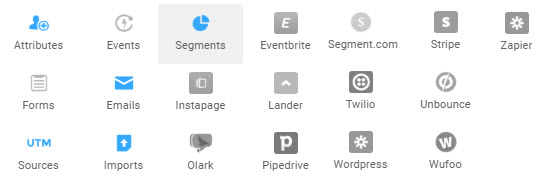
You can use one of our many third party integrations to add contacts in Route. Zapier, Unbounce, Webhook, Pipedrive, Lander, Instapage, etc. are some of the third party integrations that Route offers.
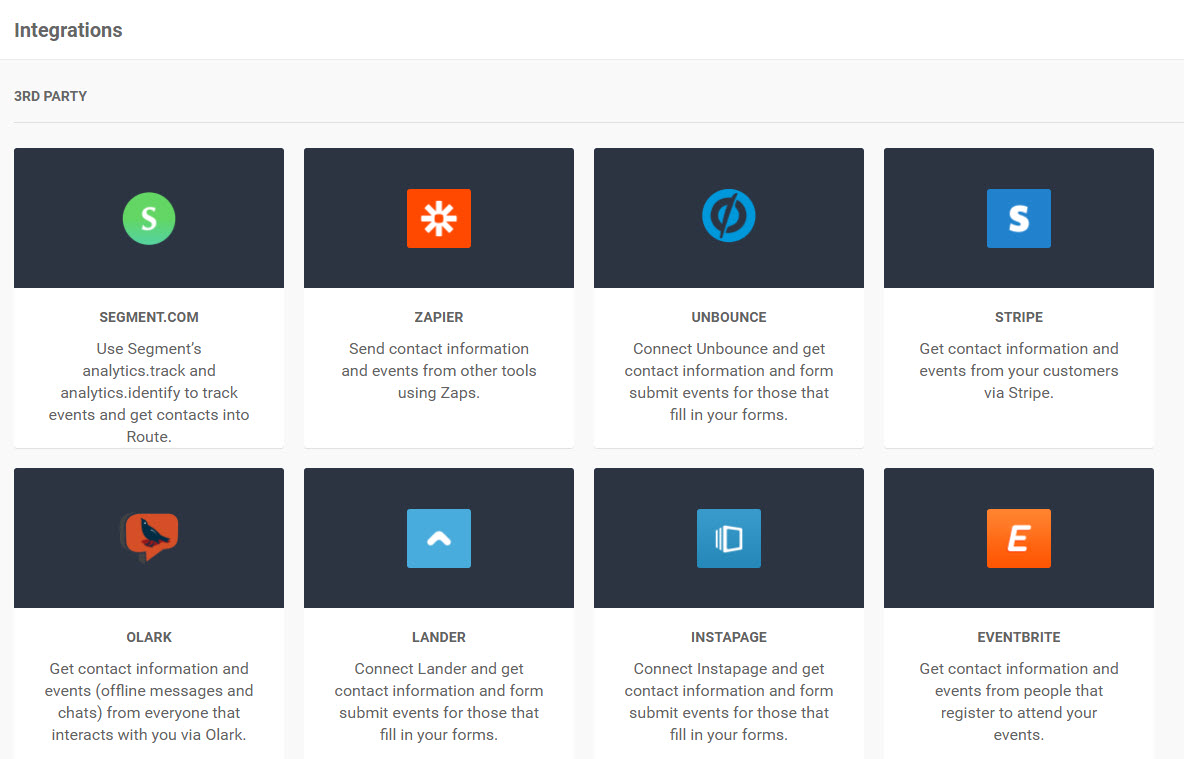
1. To add contacts using one of these integrations, simply go to Integrations and choose the tool that you wish to use to add contacts.
![]()
2. This will redirect you to the software. Connect your third party software account to your Route account and follow the instructions to successfully integrate your account to Route.
All of these contacts are unidentified since Route still needs to map their email to the cookie on their computer. Please note that as long as a contact is unidentified, Route won’t be able to record their behavior and use it for future actions. As a result, you won’t be able to track their behavior using your events created for tracking user behavior and actions.
4. Integrate your forms with our Forms feature using our identify contacts method or with our HTTP-API.
You can integrate your website forms with our Forms feature, or with our Events feature.
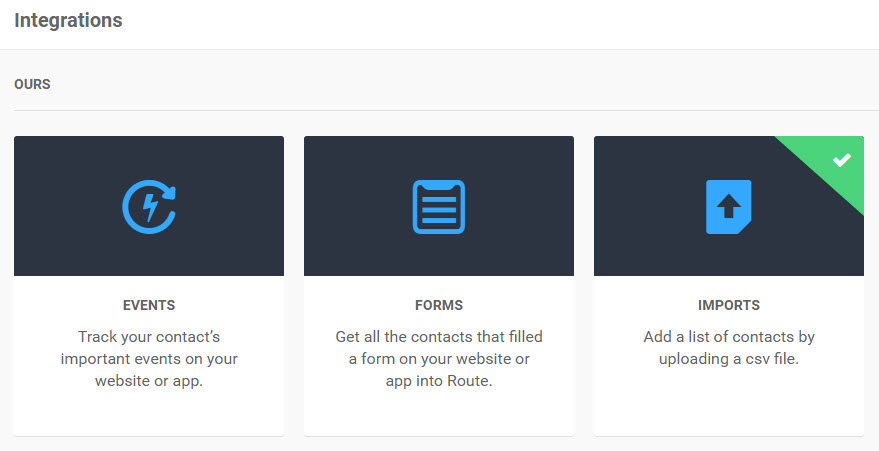
1. To add contacts, simply select Events or Forms.
2. This will redirect you to the forms page. Follow the instructions to successfully integrate your form to Route.
This will automatically identify your contacts and categorize them as Identified. This implies that Route can track and record their behavior and actions.
What is the Best Way to Capture Contacts in Route?
The best way to capture and identify contacts is by integrating your site’s forms with Route or by creating new forms using our form builder tool (coming soon).
We recommend using your forms to capture contacts because what’s better than your own website built around your own business strategy to convert the best leads and to track their actions? In this way, you can create better campaigns. Find out more about creating campaigns here.
How to Build a Dynamic Contact List in Route?
You can build a dynamic list of contacts using segmentation.
1. Click on the Contacts menu and go to Filter Conditions.
2. Click on the Filter Conditions drop-down list and select the desired element from the list.
3. Set the required conditions. If you wish to set multiple conditions, click on the And button or the Group Condition button. Once you’re satisfied, click Filter.
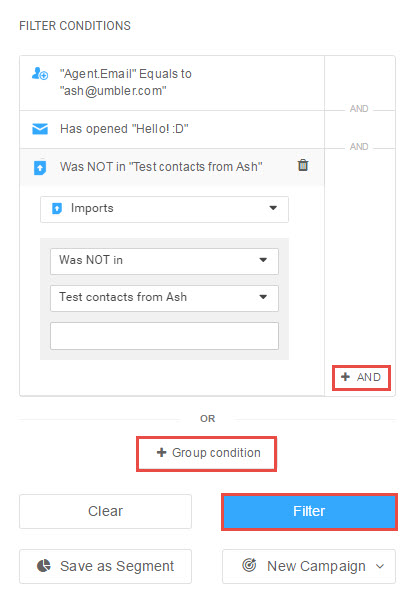
The list of contacts satisfying the set criteria will be displayed.
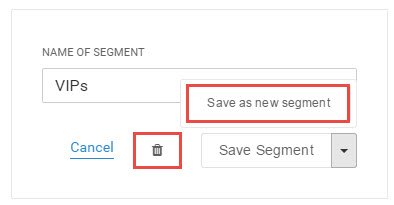
4. Click Save as Segment. Enter the desired segment name and click Save Segment.

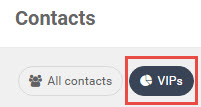
This segment will now be displayed at the top of the page, right beside All Contacts. That’s it! Here’s you new dynamic list that will automatically refresh contacts matching the set conditions.
Note: You can save this segment with a new name by clicking on Save as new segment. Alternatively, you can delete the segment by clicking the Trash icon.
How to Unsubscribe Contacts?
You can unsubscribe contacts from your contact list in Route.
1. Go to the Contacts menu and navigate to the Contacts Overview
2. Locate the contact that you wish to unsubscribe.
3. Click on the down arrow button adjacent to the contact that you wish to unsubscribe.

4. Select Unsubscribe and click on Yes. The chosen contact will be unsubscribed from your contact list.
Note: By default, unsubscribed contacts aren’t displayed within the contact list. If you wish to view these contacts, select the Include unsubscribed checkbox.

How to Delete Contacts?
You can delete contacts from your contact list in Route.
1. Go to the Contacts menu and navigate to the Contacts Overview
2. Locate the contact that you wish to delete.
3. Click on the down arrow button adjacent to the contact that you wish to delete.
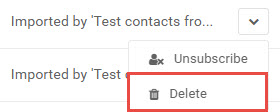
4. Select Delete and click Yes. The chosen contact will be unsubscribed from your contact list.
How to Export Contacts?
You can export contacts from your contact list in Route to your computer.
1. Go to the Contacts menu and navigate to the Contacts Overview
2. Click on the down arrow button next to Last Activity.
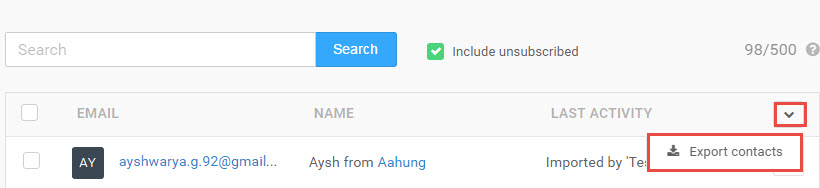
3. Select Export contacts. The contacts will be exported to your computer as a .CSV file.